Fifty Dollars and a Very Different Philosophy
The Creality Ender-3 V3 SE sits at $199. The Bambu Lab A1 Mini is $249. On paper, that’s a rounding error on a 3D printer purchase. In practice, those $50 buy you a fundamentally different relationship with your machine — and depending on what you want to print, they might not buy you anything useful at all.
Both are bedslingers. Both have direct drive extruders and automatic leveling. Both are aimed squarely at beginners who don’t want to spend an afternoon calibrating before their first print. The split happens everywhere else: speed, slicer, ecosystem, connectivity, and the hard ceiling on what materials each machine will actually run.
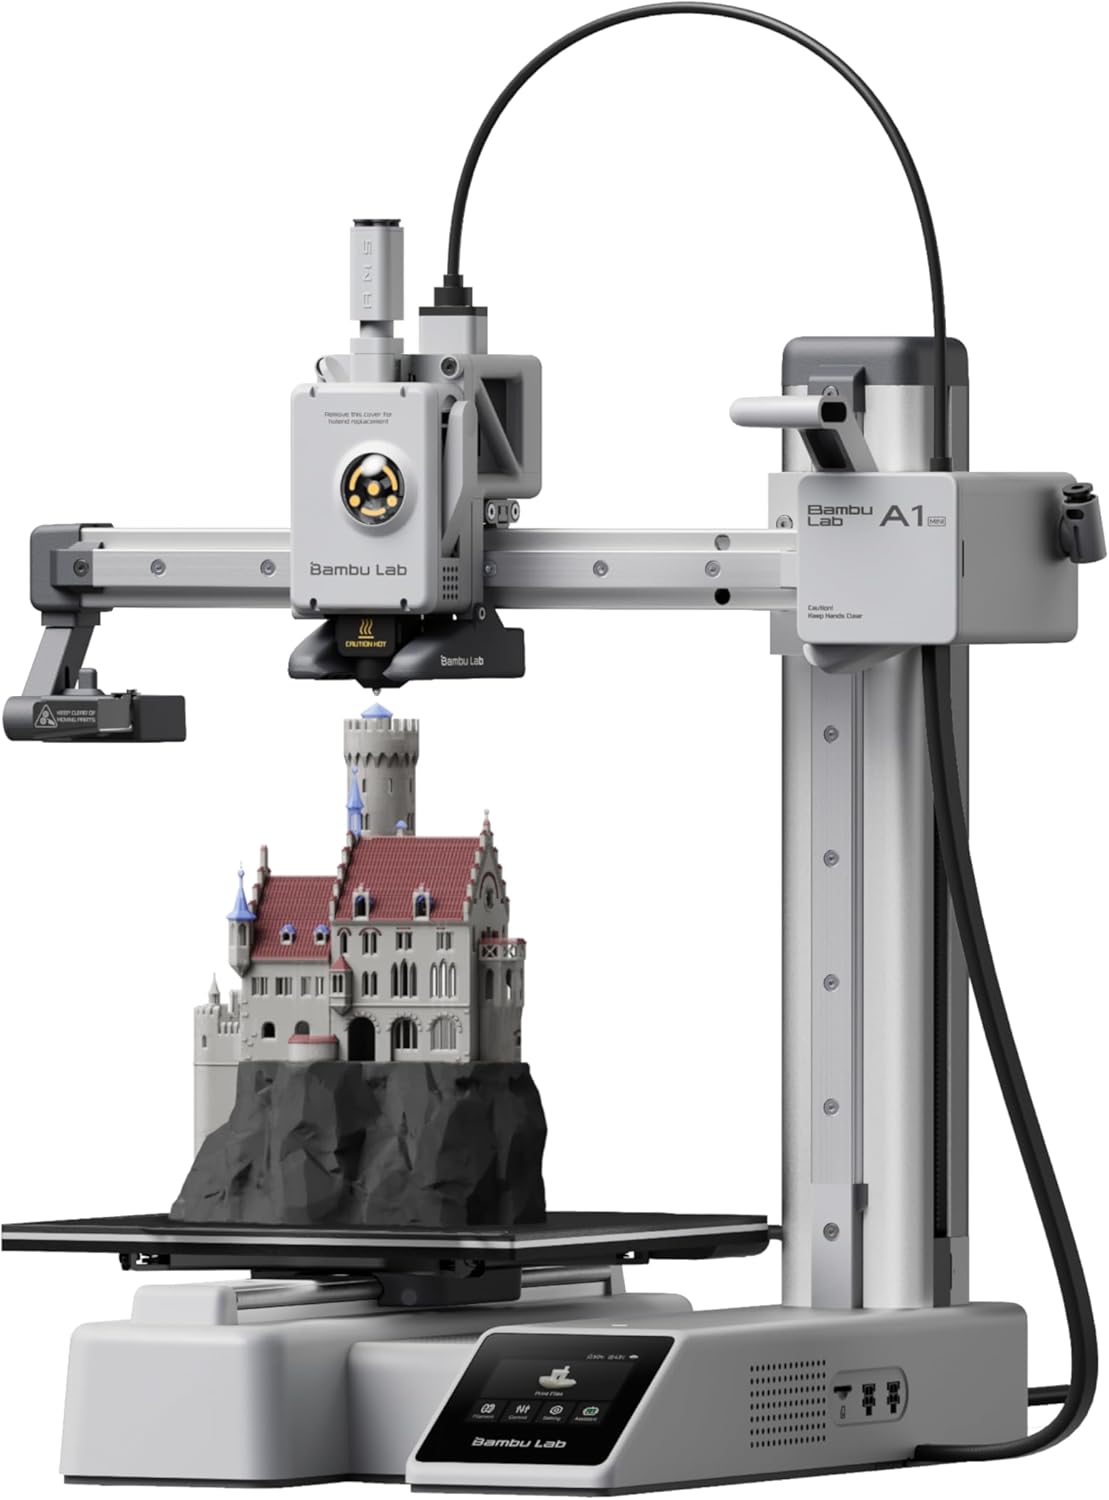
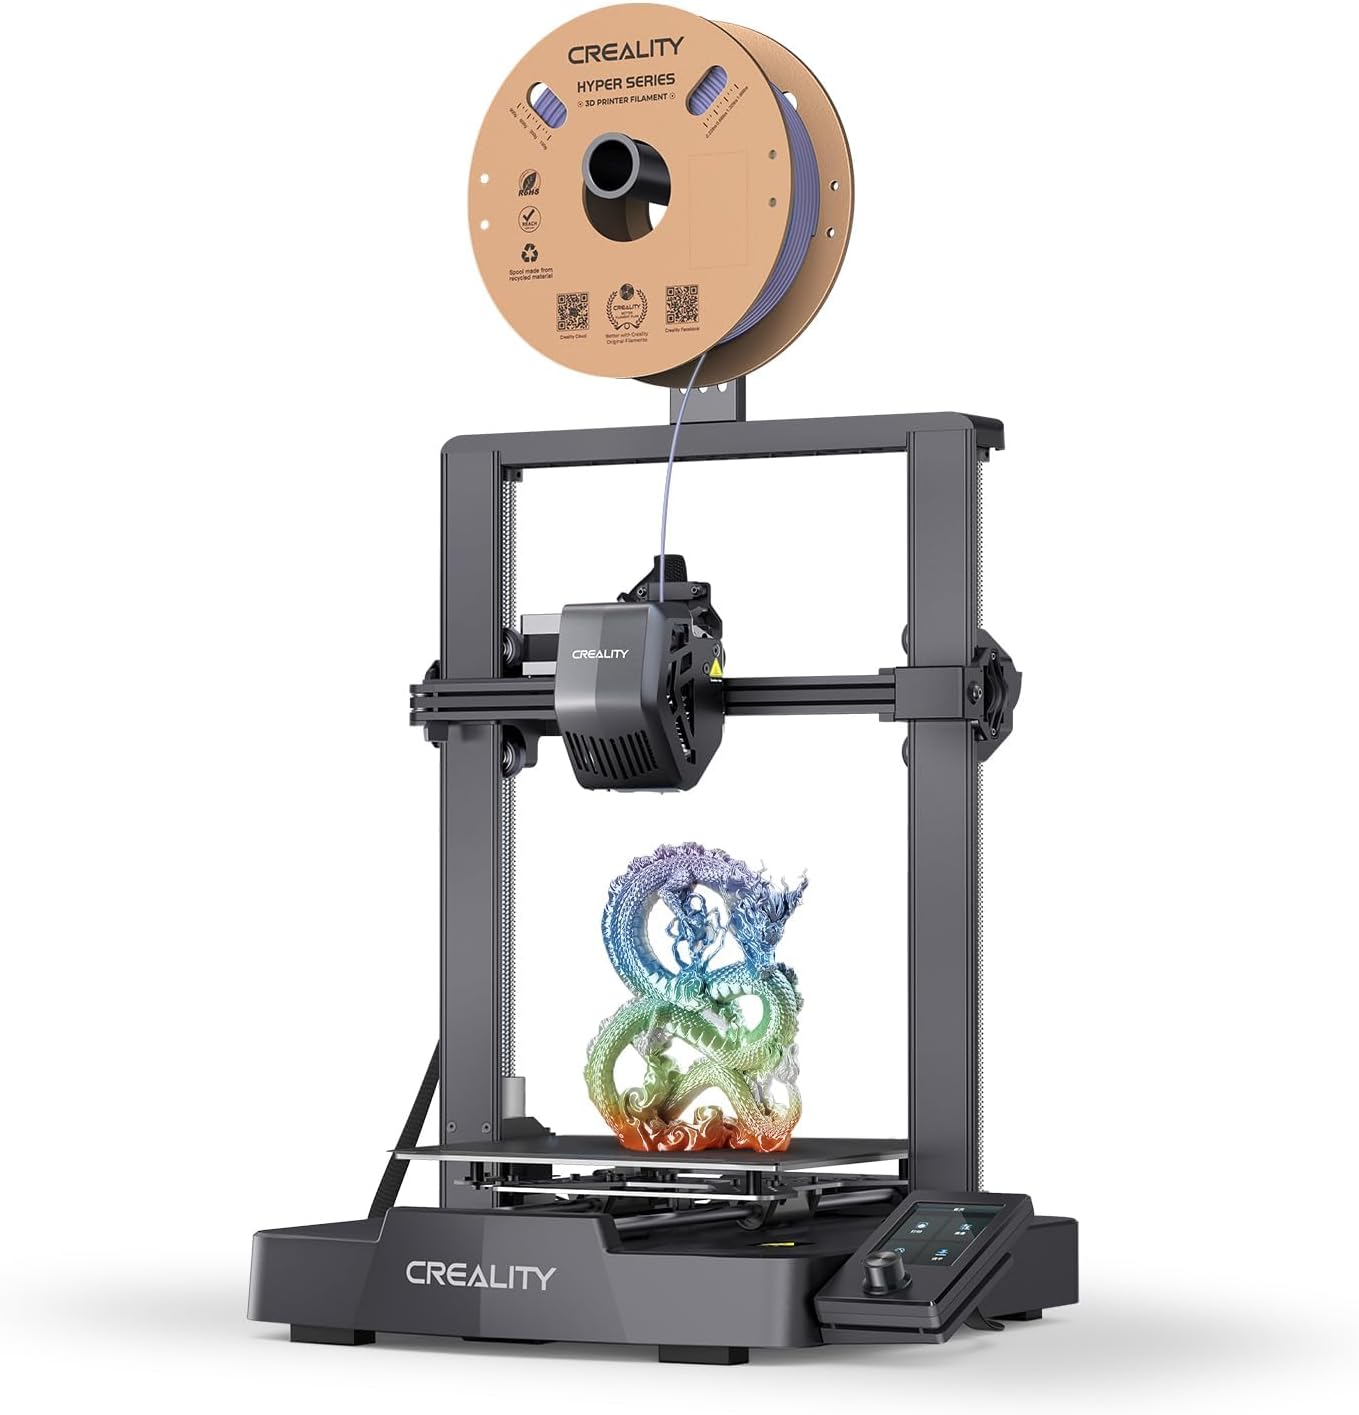
| Spec | Bambu Lab A1 Mini | Creality Ender-3 V3 SE |
|---|---|---|
| Build Volume | 180×180×180mm | 220×220×250mm |
| Kinematics | Bedslinger (Cartesian) | Bedslinger (Cartesian) |
| Max Speed | 500 mm/s | 250 mm/s |
| Max Nozzle Temp | 300°C | 260°C |
| Max Bed Temp | 80°C | 100°C |
| Extruder | Direct drive | Direct drive (Sprite) |
| Leveling | Fully automatic (load cell) | CR Touch (automatic) |
| Chamber | Open | Open |
| Firmware | Bambu (proprietary) | Marlin |
| Camera | Built-in 1080p (low fps) | None |
Speed and Motion: Not Even Close
The A1 Mini runs at up to 500mm/s with 10,000mm/s² acceleration. The Ender-3 V3 SE tops out at 250mm/s with 2,500mm/s². That’s not a marginal difference — the A1 Mini has four times the acceleration, which is the number that actually determines how fast short moves complete on detailed prints.
In real terms: a print that takes four hours on the Ender-3 V3 SE will typically finish in two to two-and-a-half on the A1 Mini at comparable quality settings. The A1 Mini’s input shaping also does a better job suppressing ringing and ghosting at high speeds, so you’re not trading surface quality for that time savings. The Ender-3 V3 SE’s Marlin firmware includes basic input shaping support, but the lower acceleration ceiling means it’s doing less work to begin with.
If you’re printing one or two objects a week, the speed gap might not matter. If you’re running the machine daily — prototypes, gifts, replacement parts — the A1 Mini’s throughput advantage compounds fast.
Build Volume: The One Area the Ender Wins
The Ender-3 V3 SE’s 220×220×250mm build volume beats the A1 Mini’s 180×180×180mm cube on every axis. That extra 40mm in X and Y is meaningful for functional parts — a phone stand, a tool organizer, a cosplay prop — that just barely don’t fit on the A1 Mini’s plate.
The 70mm of additional Z height matters less often, but when you need it (tall vases, long brackets, full-height figurines), you’ll feel the A1 Mini’s constraint. The A1 Mini’s 180mm cube is enough for most starter projects, but it gets cramped fast once you start designing your own parts rather than downloading pre-scaled models.
This is the one spec where the cheaper machine wins outright. If you already know you’ll be printing large objects, the Ender-3 V3 SE’s footprint is a genuine advantage.
Material Compatibility: Two Hard Ceilings
| Material | A1 Mini (Open, 80°C bed) | Ender-3 V3 SE (Open, 100°C bed) |
|---|---|---|
| PLA | Perfect | Perfect |
| PLA+ | Perfect | Perfect |
| PETG | Great | Great |
| TPU | Good | Great |
| ABS | Incompatible | Limited |
| ASA | Incompatible | Limited |
| Carbon Fiber | Incompatible | Incompatible |
The A1 Mini’s 80°C bed cap is a hard wall. ABS and ASA need a heated bed in the 100–110°C range and an enclosure to prevent warping — the A1 Mini can’t provide either. Don’t try it; you’ll get warped parts and wasted filament.
The Ender-3 V3 SE’s 100°C bed gets you to the starting line for ABS and ASA, but “limited” means exactly that. Without an enclosure, ambient drafts will cause layer separation on anything taller than a few centimeters. You can improve results by printing inside a cardboard box or a DIY enclosure, but out of the box, neither printer is an ABS machine.
TPU is worth noting: the Ender-3 V3 SE rates “great” versus the A1 Mini’s “good.” Both have direct drive extruders, which is the right hardware for flexible filaments, but the Ender’s slightly slower speeds and more conservative motion profile give it a small edge on very soft TPU grades that tend to buckle under aggressive acceleration.
Neither printer can run carbon fiber composites. A 260°C nozzle cap (Ender) and a 300°C cap (A1 Mini) both fall short of what CF-filled materials demand from a hardened nozzle, and neither ships with one.
Slicer, Firmware, and Ecosystem
This is where the $50 gap earns its keep most clearly.
The A1 Mini runs Bambu’s proprietary firmware and pairs with Bambu Studio. For a beginner, Bambu Studio is a significant quality-of-life upgrade: one-click print profiles that actually work, automatic support generation that’s better than Cura’s defaults, and seamless Wi-Fi printing from a laptop or the Bambu Handy app. The built-in 1080p camera lets you check on a print without walking to the machine. It’s low frame-rate — don’t expect smooth video — but it’s enough to catch a spaghetti failure before it becomes a three-hour waste.
The Ender-3 V3 SE runs Marlin, which is open, well-documented, and supported by a massive community. That’s genuinely valuable if you want to modify firmware, add features, or troubleshoot at a low level. For a first-time buyer who just wants to print, it’s more complexity than most people want. Connectivity is USB and microSD only — no Wi-Fi, no remote monitoring, no app. You slice on your computer, copy to a card, walk to the printer. Every time.
The Ender-3 V3 SE’s upgrade ecosystem is real and deep. The Ender platform has years of aftermarket parts, community mods, and forum documentation. If you enjoy tinkering, that matters. If you want to print rather than maintain, the A1 Mini’s closed ecosystem is a feature, not a limitation.
The A1 Mini is also AMS Lite compatible. The AMS Lite (sold separately) enables up to 4-color printing. The Ender-3 V3 SE has no multi-material upgrade path at all.
Assembly and First-Print Experience
The A1 Mini ships fully assembled. Unbox, connect power, run the auto-calibration sequence, print. The Ender-3 V3 SE requires three assembly steps — attaching the gantry, routing cables, mounting the display — which Creality describes as a 15-minute process. It genuinely is about 15 minutes, and the CR Touch automatic leveling handles the rest.
Neither machine will frustrate a patient beginner. The A1 Mini is faster to first print by a meaningful margin, and Bambu Studio’s guided setup removes most of the decisions that trip up new users in Cura or PrusaSlicer.
The Buy Recommendation
Buy the Bambu Lab A1 Mini ($249) if:
- PLA, PLA+, and PETG cover your material needs now and for the foreseeable future
- You want to start printing the same day the box arrives, with minimal setup
- Remote monitoring and Wi-Fi printing matter to you
- Multi-color printing is on your roadmap (AMS Lite upgrade path)
- Print speed and throughput are priorities — you’ll run the machine regularly
Buy the Creality Ender-3 V3 SE ($199) if:
- You need the larger 220×220×250mm build volume for bigger parts
- You want to experiment with ABS or ASA and are willing to build a DIY enclosure
- Open firmware and a deep modding community appeal to you
- Budget is the primary constraint and $50 is a real consideration
- TPU is a primary material and you want the most forgiving motion profile
For most first-time buyers, the A1 Mini is the right call. The speed advantage, the slicer experience, and the Wi-Fi connectivity add up to a machine that stays out of your way and lets you focus on what you’re making. The Ender-3 V3 SE is a capable printer, but its slower speeds and sneakernet workflow are genuine friction points that the A1 Mini’s $50 premium largely eliminates.
If build volume is your deciding factor, the Ender wins. If it isn’t, the A1 Mini is the better beginner machine at this price tier.
If you’re cross-shopping these against other entry-level options, read our best 3D printer under $200 roundup for a broader look at what the Ender-3 V3 SE is competing against at its price point.