The “Best for PLA” Question Is Really About Everything Else
PLA is the easiest filament to print. It runs at 195-220°C, warps so little that a bare glass plate works fine, and doesn’t need a heated chamber, a hardened nozzle, or a filament dryer on day one. If you’re shopping for a printer and PLA is your only material, the honest answer is: almost anything on this list will do it.
That’s exactly why this roundup is harder to write than “best for ABS” or “best for carbon fiber.” The real question isn’t whether a printer can handle PLA — it’s what you give up by buying the cheapest one that can. PLA is your daily driver. You’ll print it for 80% of your jobs while occasionally reaching for PETG, TPU, or something tougher. The printer you buy for PLA is the printer you’ll use for everything.
That’s the lens here: which printer gives you the best PLA results and leaves the most room to grow?
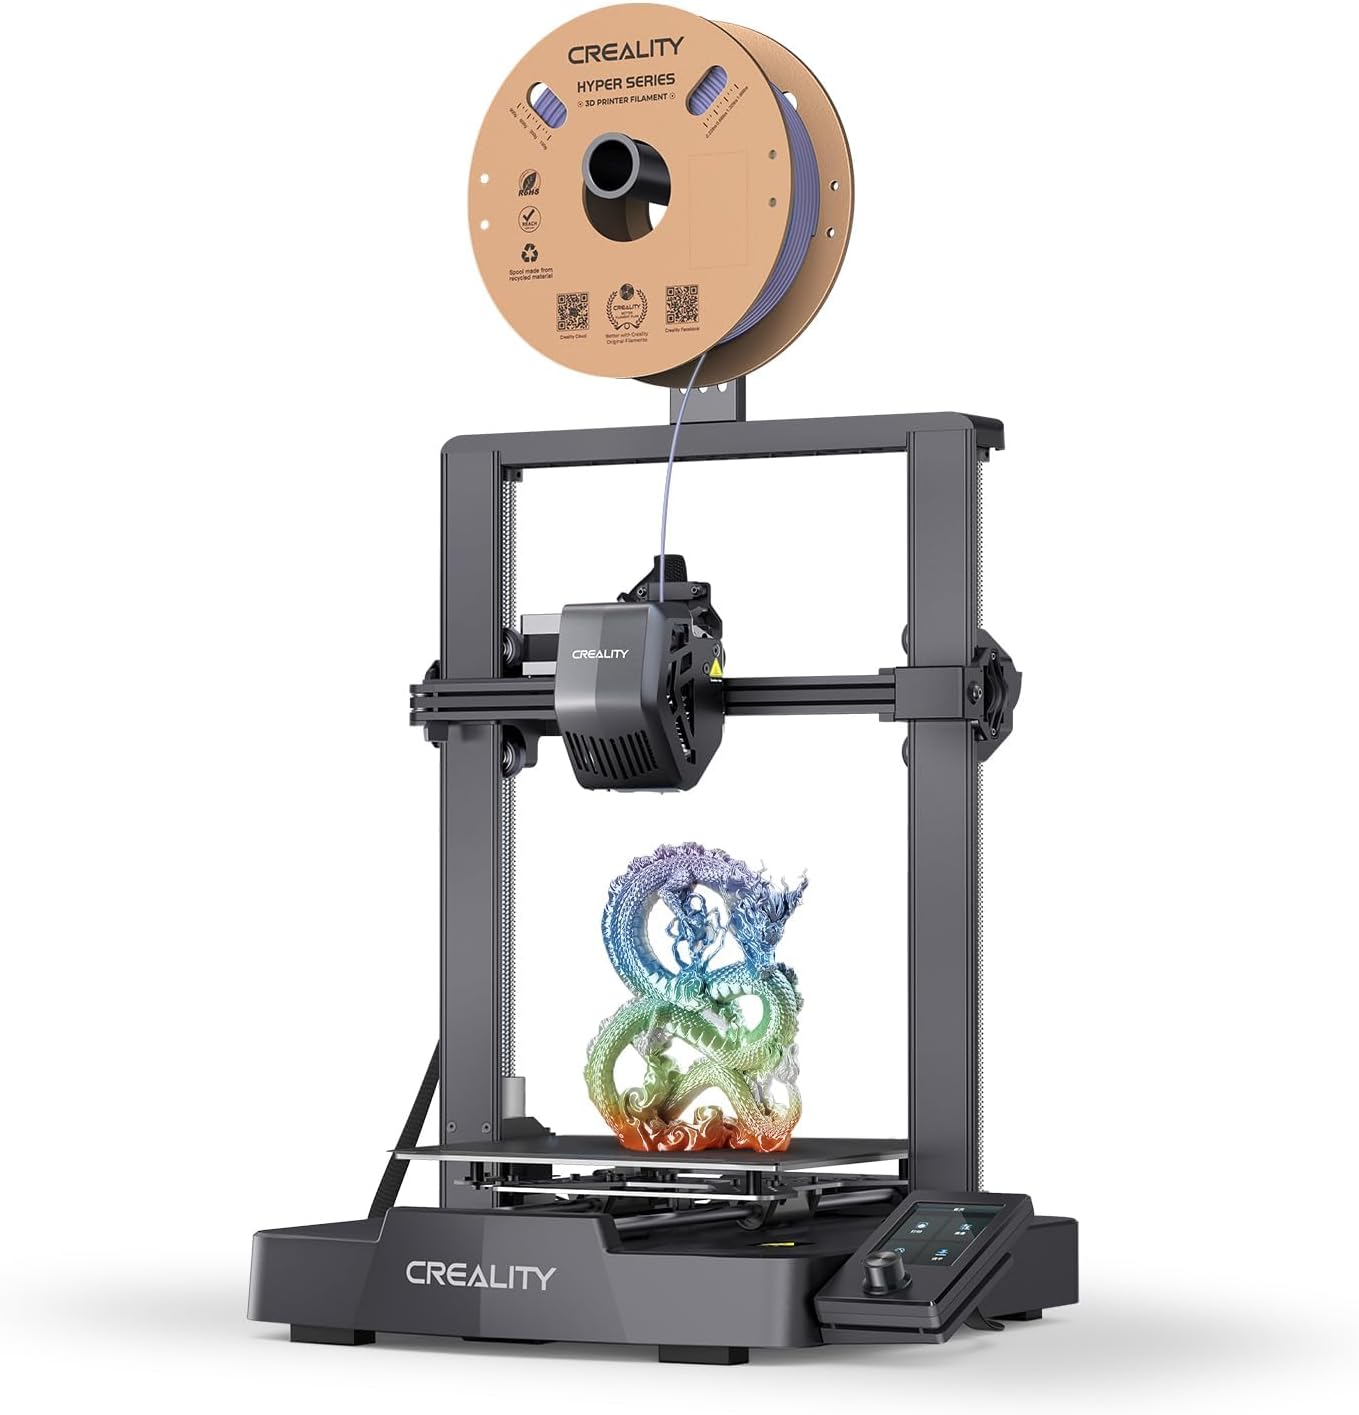
Creality Ender-3 V3 SE
Creality's answer to Bambu's ease-of-use under $200. Direct drive, auto-leveling, and the Ender footprint people already trust.
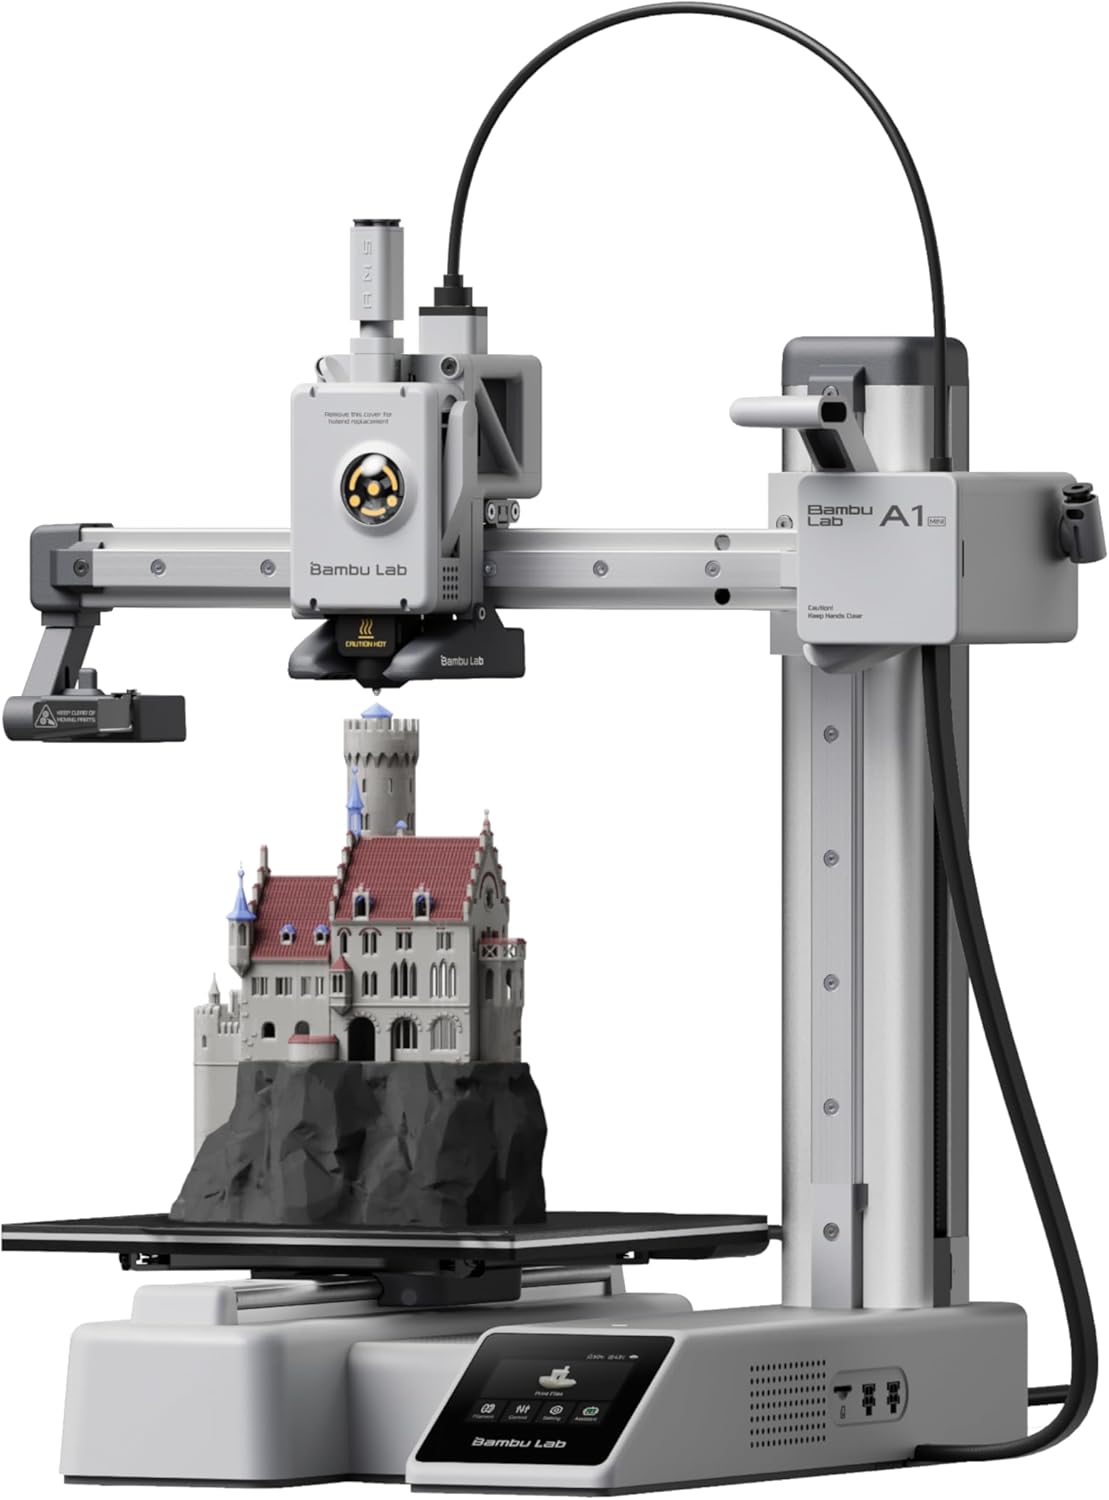
Bambu Lab A1 Mini
The cheapest way to get the Bambu experience. 180mm cube of build volume, all the auto-everything, around $249.
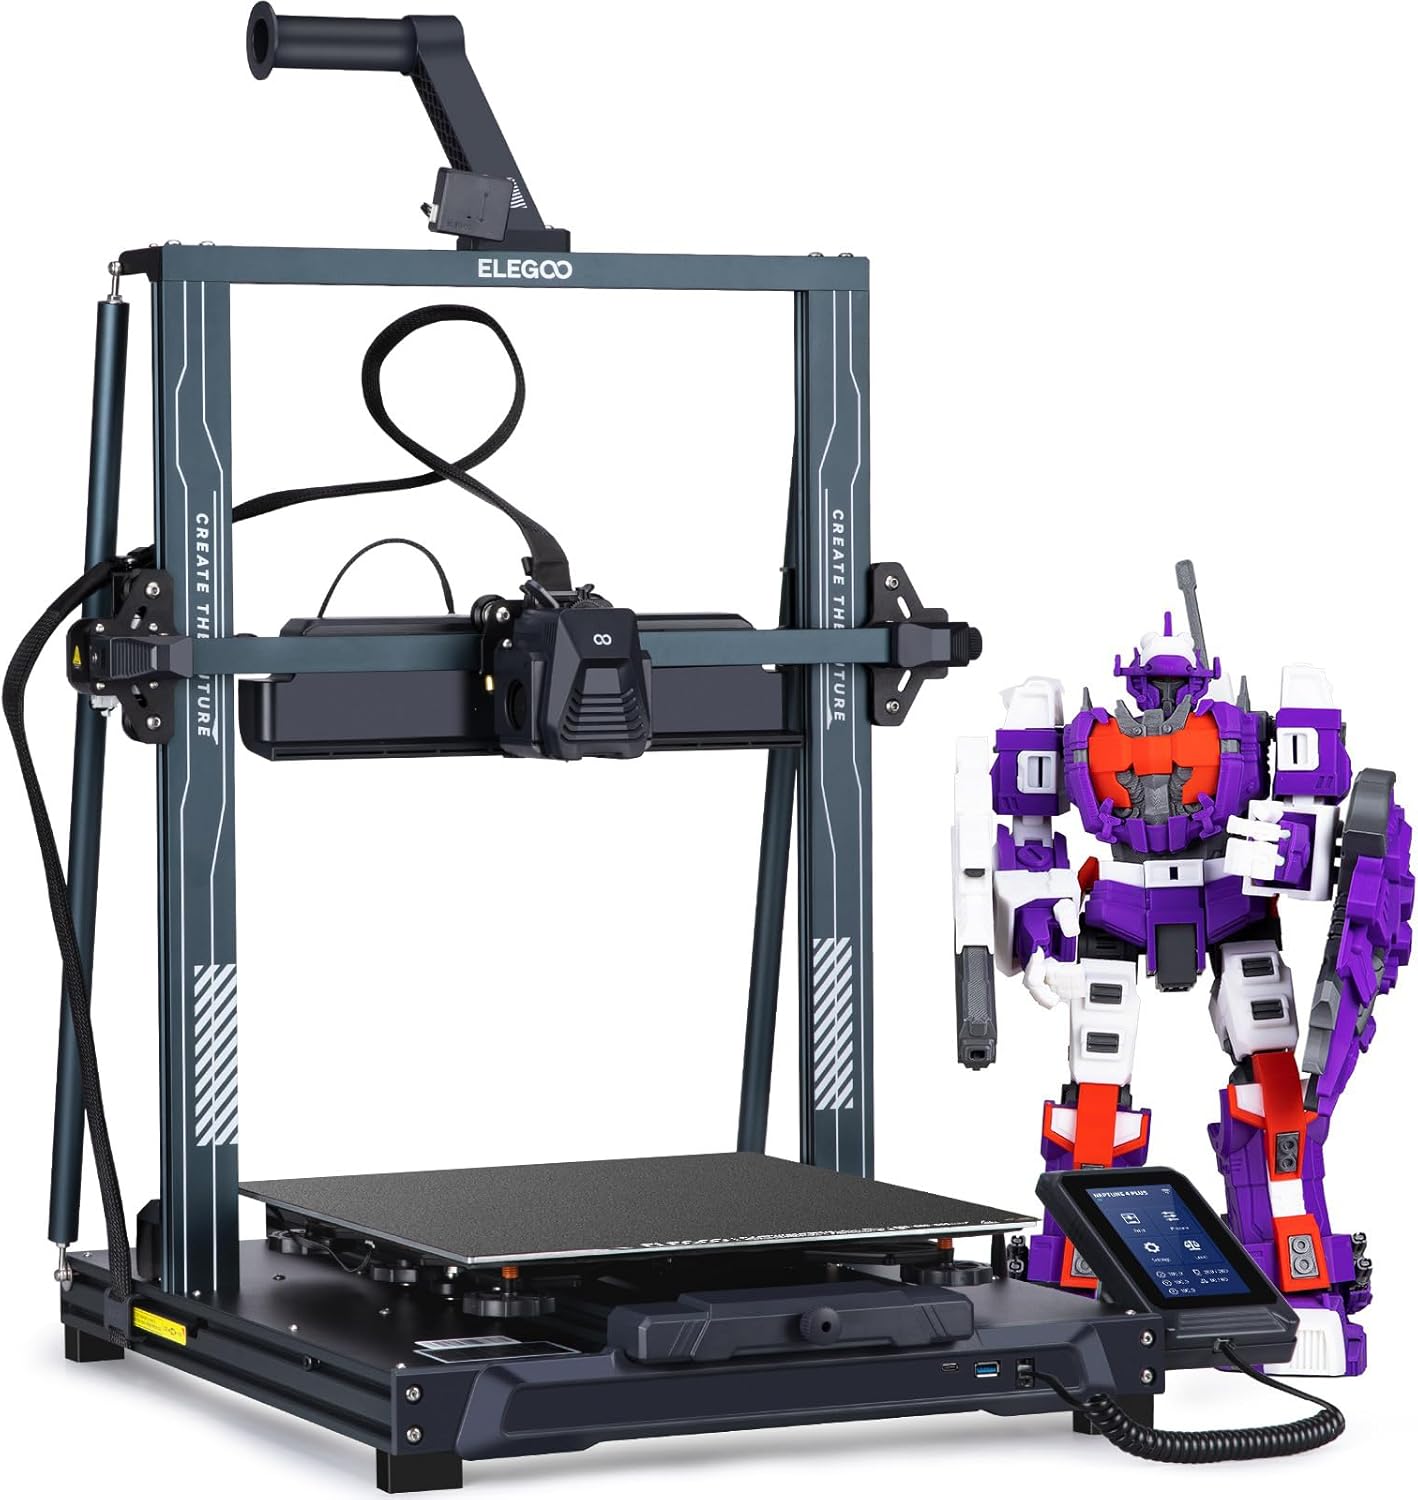
Elegoo Neptune 4 Pro
Klipper out of the box, dual-gear direct drive, and a 500mm/s top speed under $300. The price-to-performance king.
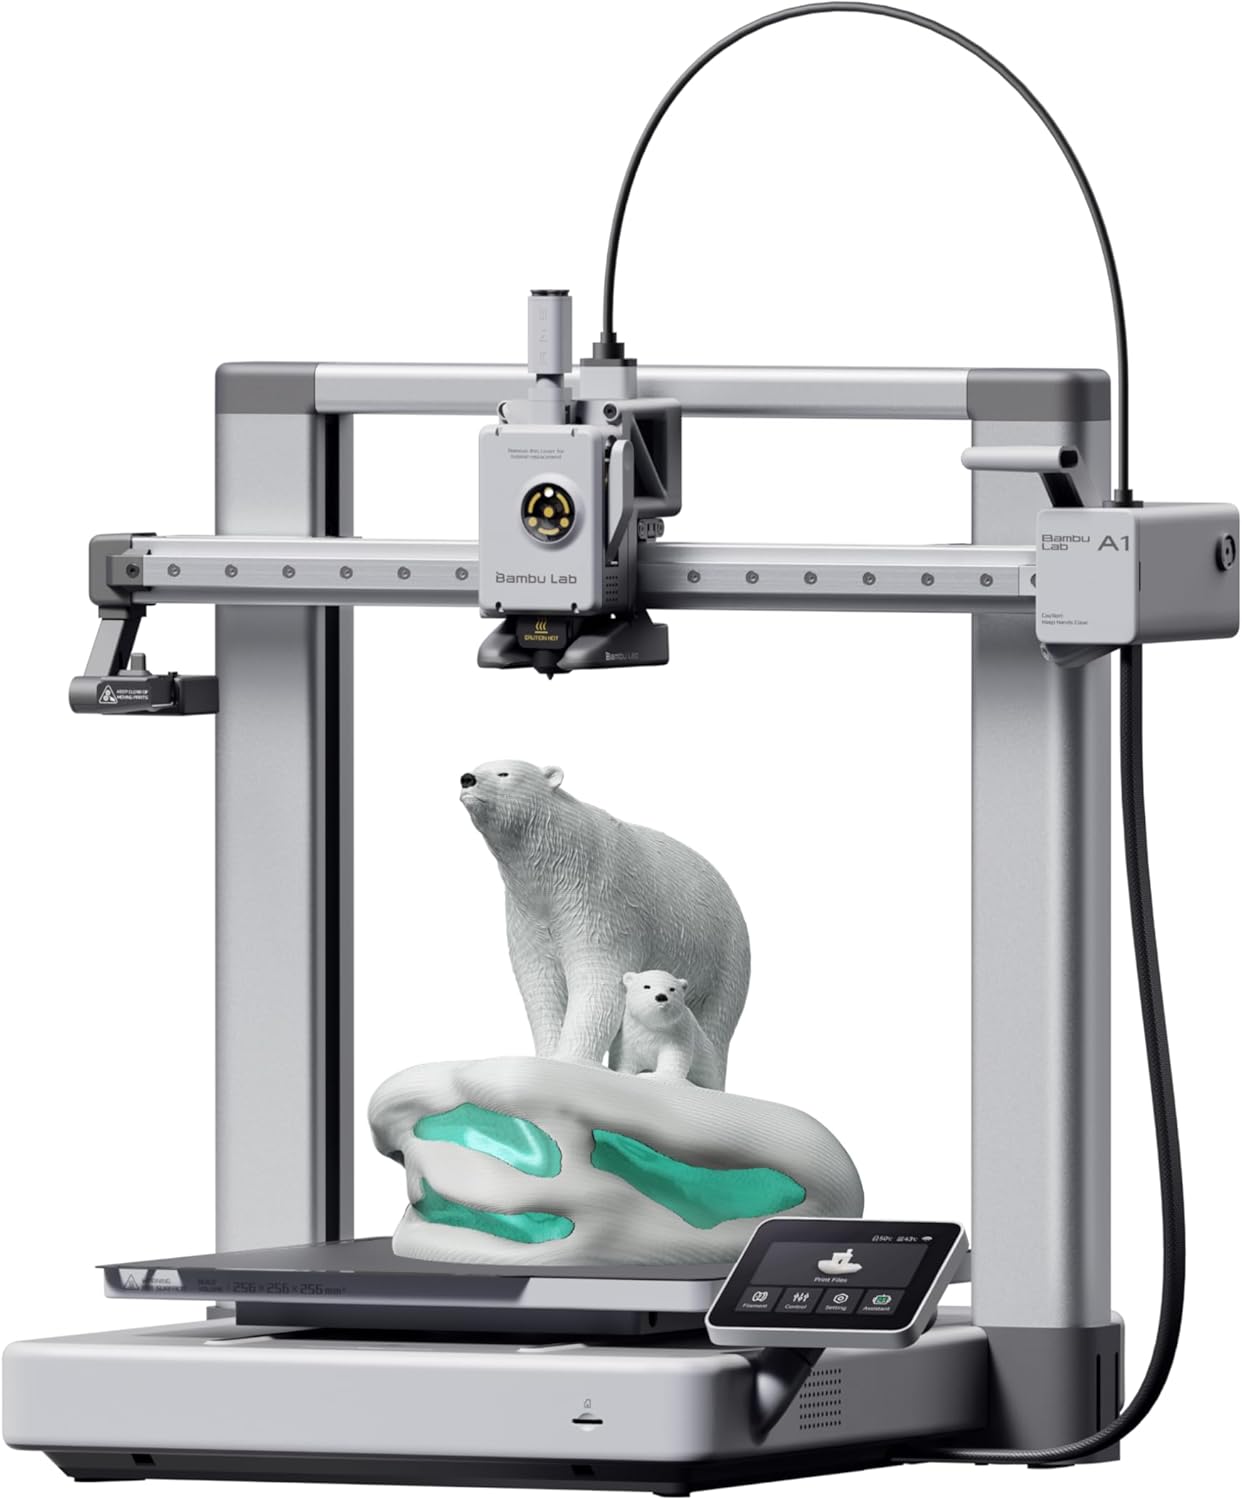
Bambu Lab A1
The bedslinger that beat the CoreXYs at their own game. Auto-everything, multi-color via AMS Lite, and a camera baked in.
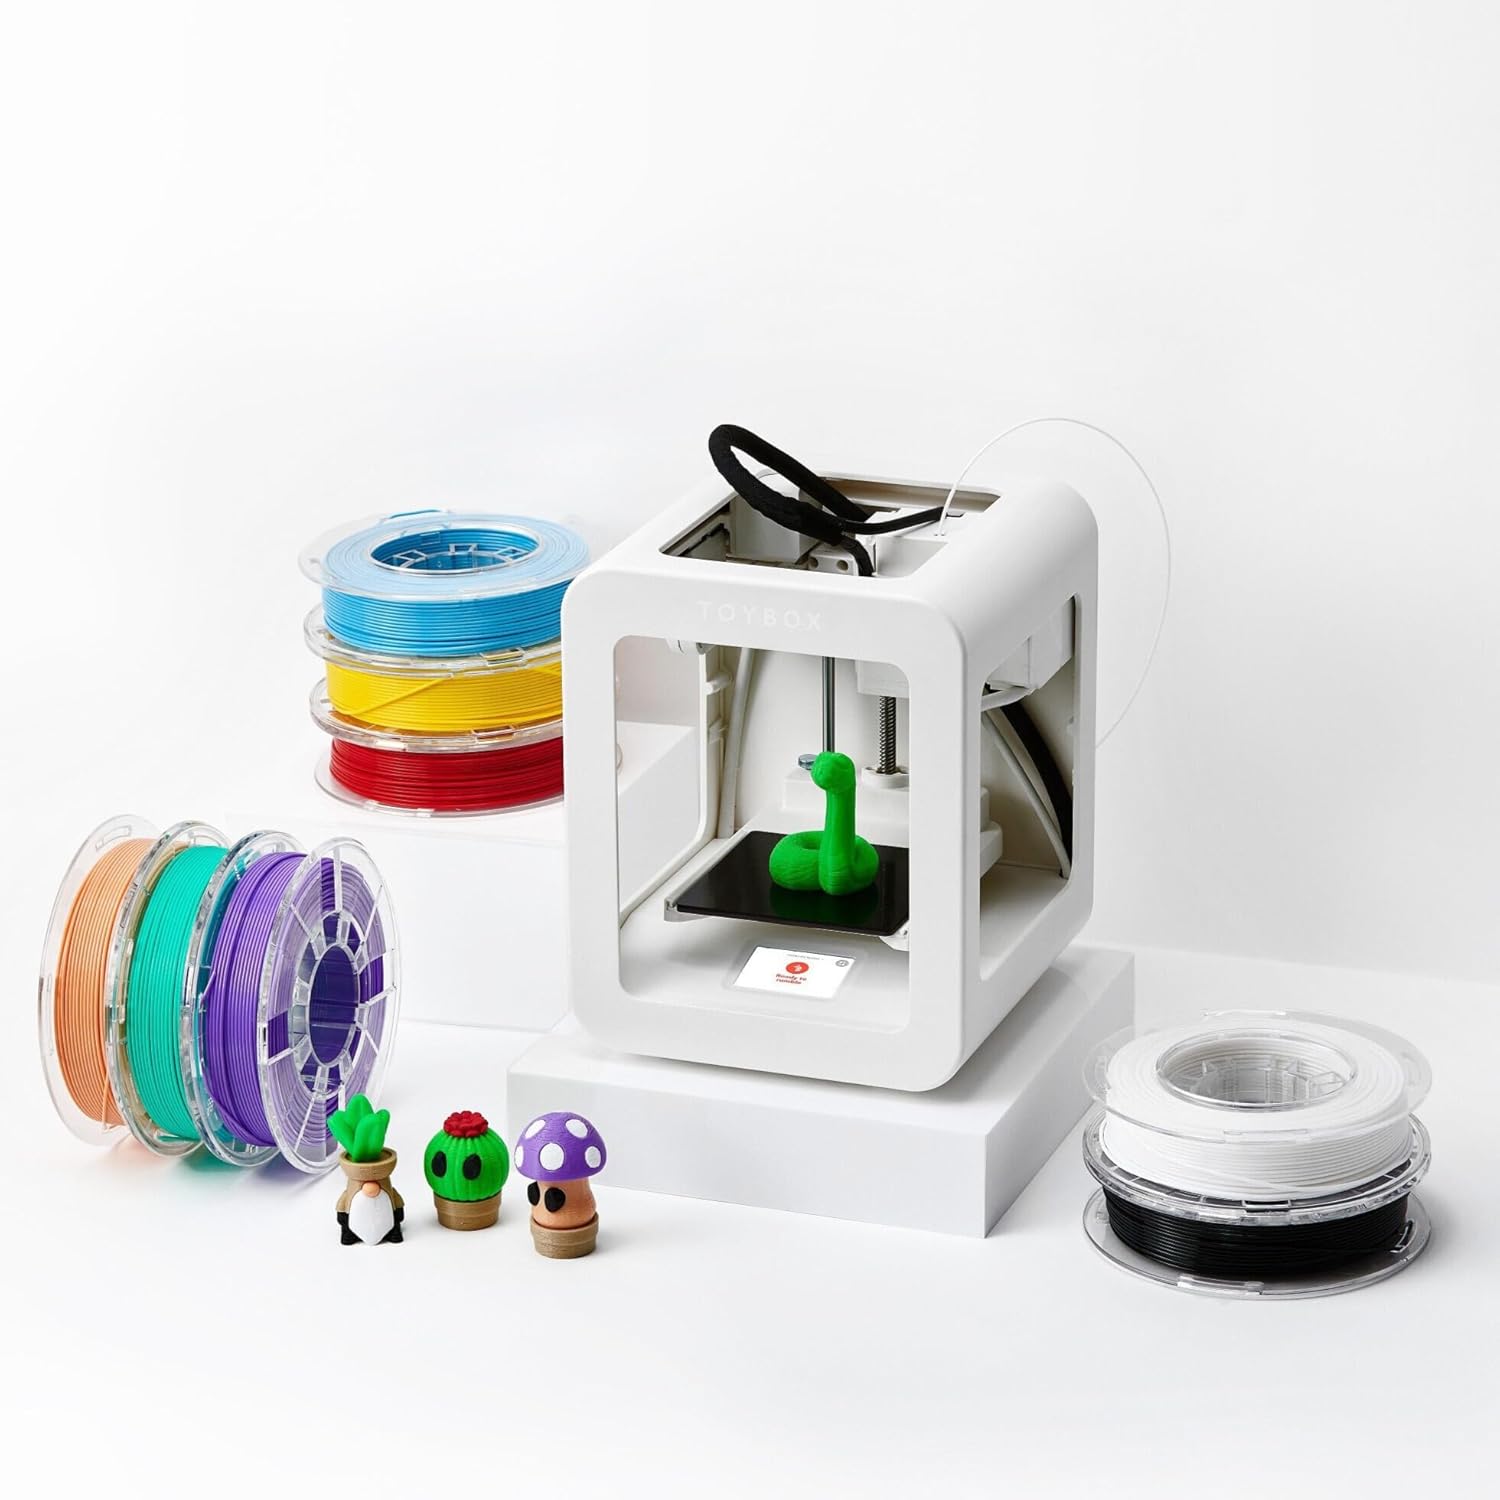
Toybox 3D Printer
The kid-first 3D printer. One-button printing from a tablet app, food-safe PLA, no slicer required.
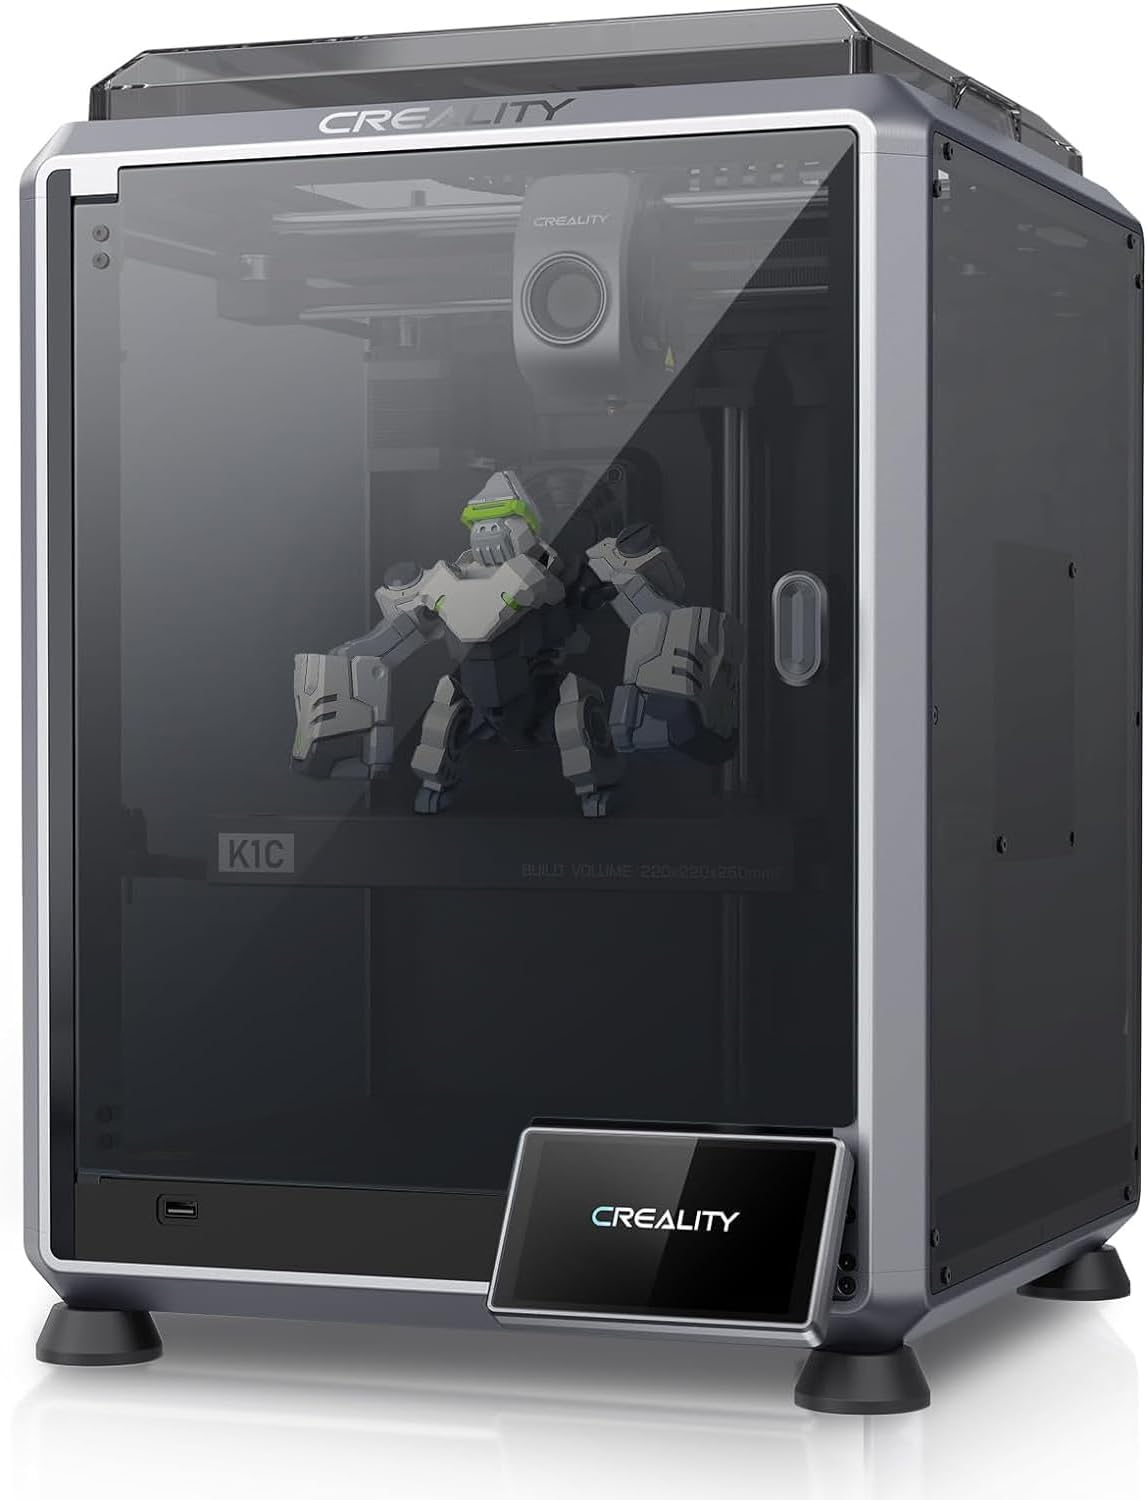
Creality K1C
The K1, made for carbon fiber and abrasives. All-metal hotend, hardened Unicorn nozzle, enclosed CoreXY.
Why the Bambu Lab A1 Wins for Most People
The A1 ($339) is the default recommendation for anyone who wants to print PLA and not spend a weekend calibrating. Load-cell bed leveling means the first layer is handled automatically — not “pretty good automatically” like a CR Touch, but genuinely handled. Vibration compensation and flow calibration run at startup. The 256×256×256mm build volume covers most functional parts. And the built-in 1080p camera means you can check on a six-hour print from your phone without buying anything extra.
At 500mm/s top speed with 10,000mm/s² acceleration, it’s fast enough that PLA prints that used to take three hours finish in under ninety minutes. That’s not CoreXY territory, but it’s a bedslinger that doesn’t feel slow.
The AMS Lite compatibility is the feature that separates it from everything else at this price: add the $250 AMS Lite later and you’re printing four-color PLA models without touching the printer mid-job. No other open-frame printer at this price offers that path.
What you give up: ABS and ASA are listed as “limited” — the open frame means warping on engineering materials without an aftermarket enclosure. If you know you’ll need those materials, read the next section.
When to Pick the Bambu Lab P1S Instead
The P1S ($599) costs $260 more than the A1 and the spec sheet looks similar on paper: same 256mm build cube, same 500mm/s top speed, same load-cell leveling. What you’re actually buying is the enclosure.
PLA doesn’t need that enclosure. But the P1S’s sealed chamber with active cooling means it handles PLA, PETG, ABS, ASA, and carbon-fiber blends without any hardware changes. If there’s any chance your material list expands beyond PLA and PETG in the next year, the P1S eliminates the “I need to buy an enclosure” problem before it starts. It also runs AMS for true multi-color, same as the A1.
The active chamber cooling is worth noting for PLA specifically: the P1S vents the enclosure during PLA prints so heat doesn’t build up and ruin overhangs. It’s not a workaround — it works cleanly out of the box.
Buy the A1 ($339) if:
- PLA, PLA+, and PETG cover 95% of what you’ll print
- You want multi-color capability as an option, not a requirement
- The $260 price difference matters
Buy the P1S ($599) if:
- You’ll print ABS, ASA, or CF blends within the next year
- You want one printer that handles everything without enclosure mods
- Multi-color is on the roadmap and you want AMS compatibility
The Budget Case: Ender-3 V3 SE vs Neptune 4 Pro
Two printers sit under $270 and both print PLA perfectly. They’re not the same machine.
The Ender-3 V3 SE ($199) is the right call if this is your first printer and you want the lowest possible entry point with real auto-leveling. The CR Touch handles bed compensation automatically, the Sprite direct-drive extruder manages flexible filaments better than a Bowden, and the Ender community means every upgrade, fix, and mod is documented somewhere on Reddit. What it doesn’t have: Wi-Fi (SD card only), a 260°C nozzle cap that blocks high-temp materials, and a 250mm/s top speed that feels poky once you’ve seen a Bambu run.
The Elegoo Neptune 4 Pro ($260) is for the person who wants to tinker. Klipper firmware out of the box means input shaping, pressure advance, and a real tuning ecosystem — not Marlin with a few macros bolted on. The 121-point auto-leveling mesh is more thorough than the CR Touch’s single-probe approach, and the 300°C all-metal hotend opens the door to PETG and limited ABS work. The catch: Elegoo’s Klipper fork is locked down, so you don’t get the full community config freedom of a self-installed Klipper setup. And at 500mm/s with 20,000mm/s² acceleration, it’s fast on paper — but stock cooling struggles to keep up with PLA at those speeds, so real-world quality prints run slower.
Buy the Ender-3 V3 SE ($199) if:
- This is your first printer and budget is the primary constraint
- You want the largest upgrade/mod community available
- You don’t need Wi-Fi
Buy the Neptune 4 Pro ($260) if:
- You want Klipper features without building a printer from scratch
- You’ll push into PETG and want a 300°C hotend from day one
- $60 more than the Ender is fine
Skip the Toybox for Anything Beyond Kids’ Projects
The Toybox ($399) technically qualifies for this roundup — its PLA compatibility is rated “good.” That rating deserves context.
The Toybox prints PLA. It prints it slowly (30mm/s), in a 75×80×90mm build volume, using only Toybox-branded “Printer Food” filament that costs significantly more per kilogram than any third-party PLA. The proprietary spool system isn’t a minor inconvenience — it’s a permanent tax on every print you run. There’s no slicer, no user-adjustable leveling, and no upgrade path.
For a six-year-old printing toys from a tablet app, that’s a reasonable product. For anyone reading a printer roundup and weighing specs, the Ender-3 V3 SE costs $200 less, prints four times faster, accepts any filament on the market, and produces better results. The Toybox’s “good” PLA rating reflects capability, not value.
PLA-Specific Settings That Actually Matter
Hardware aside, a few settings separate clean PLA prints from frustrating ones regardless of which printer you buy.
Cooling is everything. PLA needs aggressive part cooling to bridge and overhang cleanly. Most of the printers here ship with adequate cooling fans, but the Neptune 4 Pro’s stock setup is the weakest of the group at speed. If you’re pushing 300mm/s on PLA, cooling becomes the limiting factor before the motion system does.
Bed adhesion. PLA sticks well to PEI spring-steel sheets — all the Bambu machines and the Neptune 4 Pro ship with one. The Ender-3 V3 SE uses a PC spring-steel sheet that works fine but benefits from a light wipe with isopropyl alcohol before each print. Don’t use glue stick on PEI; it makes removal harder, not easier.
Print temperature. Generic PLA runs well at 210°C. PLA+ blends often want 215-225°C for proper layer adhesion. The Toybox’s 220°C nozzle cap means some PLA+ formulations run right at the edge — another reason it’s not the right tool for anything beyond basic prints.
What You Still Need to Buy
The printer isn’t the whole budget. A few things make PLA printing noticeably better:
A spool of quality PLA to start. The filament matters more than most beginners expect. Cheap PLA with inconsistent diameter causes under-extrusion that looks like a calibration problem. Check the filament hub for tested picks — a good 1kg spool of PLA runs $18-$25 and removes a variable from early troubleshooting.
Isopropyl alcohol (91%+). A $5 bottle and a microfiber cloth. Clean the bed before every print. This solves more first-layer adhesion problems than any hardware upgrade.
A filament storage solution. PLA is the least hygroscopic common filament, but it still absorbs moisture in humid climates and produces brittle, stringing prints when it does. A sealed container with desiccant packets handles storage. If you’re in a humid environment or printing PLA+ blends that are more moisture-sensitive, a filament dryer is worth the $30-$50 — see the filament dryer guide for options that don’t require babysitting.
A spare 0.4mm nozzle. Not urgent for PLA — brass nozzles last hundreds of hours on plain PLA. But having one on hand means a clog or a crash doesn’t stop a project.
For a closer look at how the top two picks compare head-to-head across all materials, see Bambu Lab A1 vs P1S: Which One Actually Fits Your Workflow .